|
Index
|
| Tunnel 1 |
| Tunnel 2 |
| Tunnel 3 |
| Between 3&4 |
| North of Tunnel 4 |
| RGHQ 9.2 |
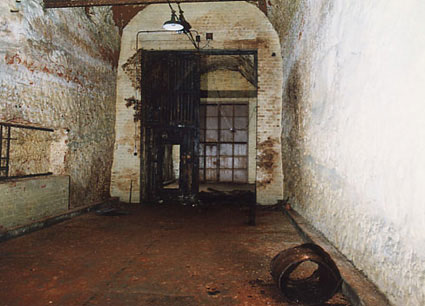
Enter through the doors to tunnel 1 (You can't actually do this as it is bricked up, concreted in and backfilled!) and look behind you towards
the outer steel door and wooden airlock door that you would have just come through.
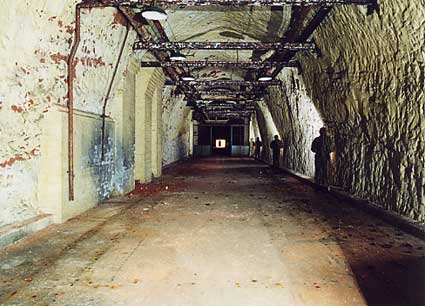
Turn around again to face into the tunnel. The time office is on your left and ahead are the
second set of wooden airlock doors.
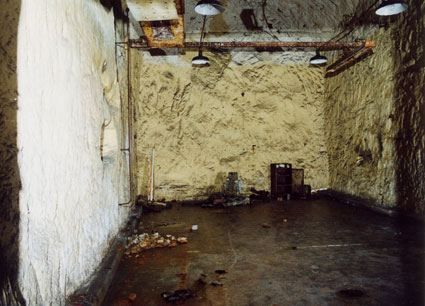
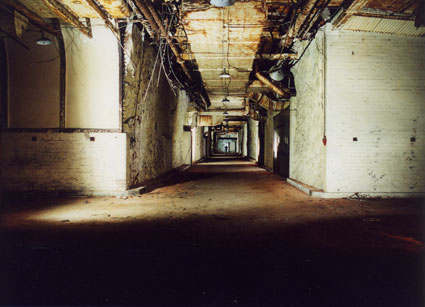
To the left is Gallery 1 - Welfare and Overalls.
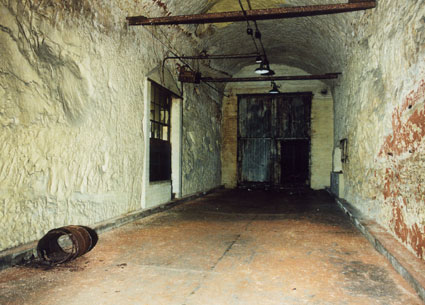
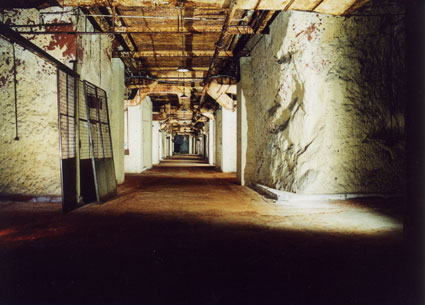
Pass through the second airlock doors into the main tunnel and turn back to look at them.
To the right is Gallery 30 Tropical Packing
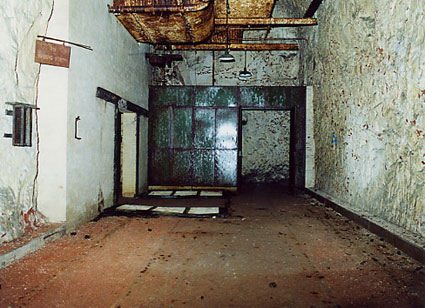
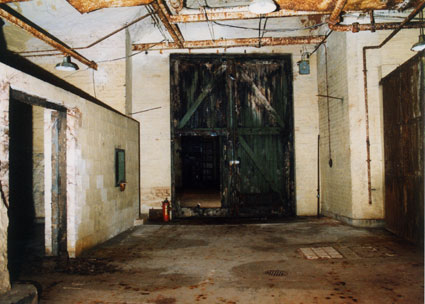
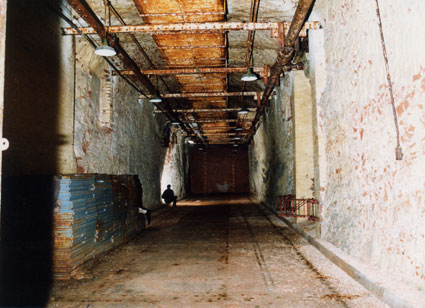
The end of Tunnel 1
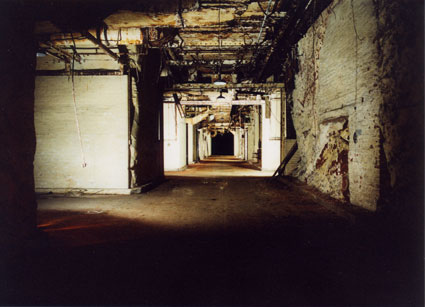
The metal partition
at the end conceals the housing for a mercury arc rectifier.
Photos of this will be added in the future. The rectifier itself is now on display at Broadfield House Glass Museum Wordsley.
Photos of this will be added in the future. The rectifier itself is now on display at Broadfield House Glass Museum Wordsley.
© 2009 J.R.Bryan
All images on this page are protected under copyright law. They may not be reproduced in any form or location electronically or in print without prior written permission from the copyright owner.
Drakelow Unearthed
- Revised Edition
Available in ebook format
from Amazon
Available in ebook format
from Amazon