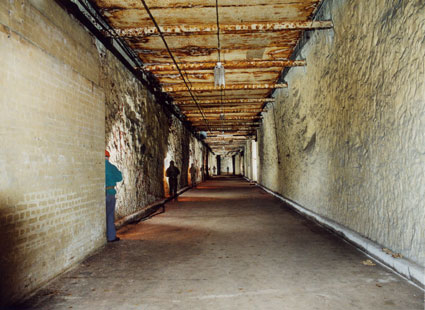
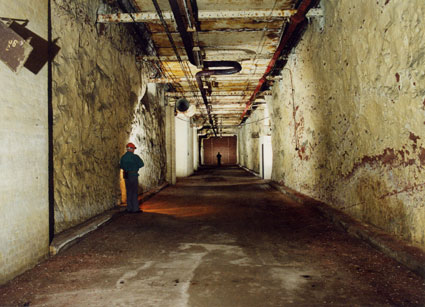
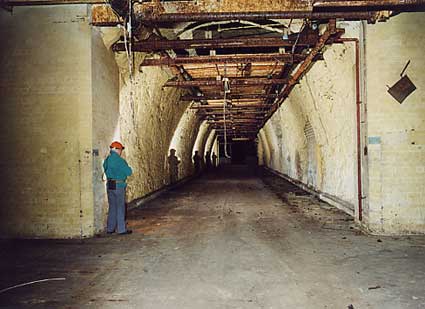
Having turned to the right you are now looking west down Tunnel 3. Note that there are no further galleries to your left.

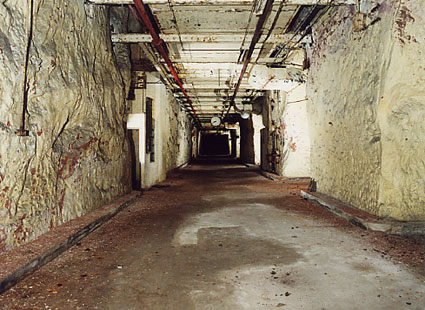
Continuing west down Tunnel 3 you arrive at the wooden airlock doors.
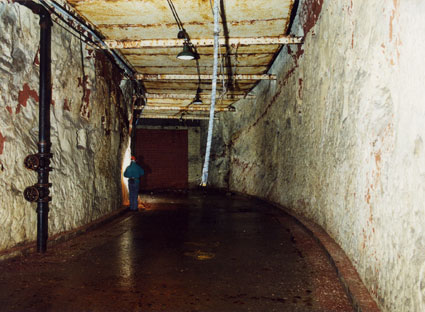
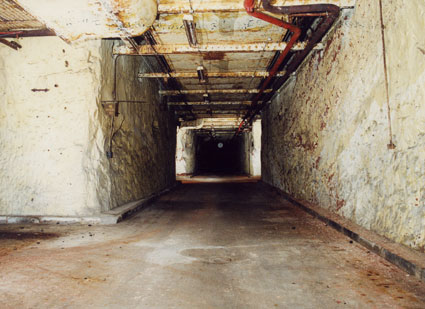
Pass through the airlock doors and you come to the end of Tunnel 3.
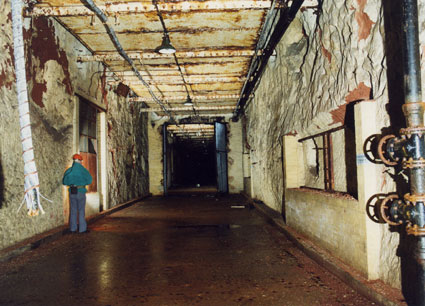
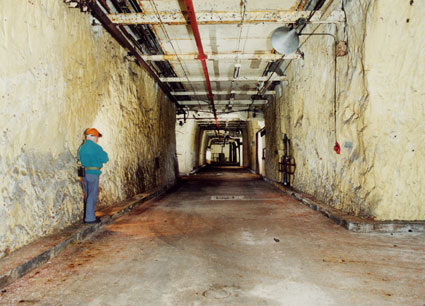
Turn around and look east back towards the wooden airlock doors and Tunnel 3. The time office is to your left. To the right is where the time cards would have been.
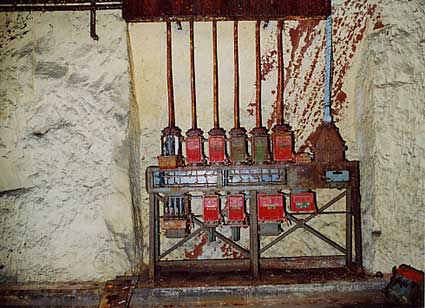
On the left you have passed the entrance to the 1940's kitchens (We will see these later on the tour). At the side of Tunnel 3 was the electrical switchgear for the kitchens. Unfortunately at this size you can not read the markings on the switches which includes "Cooker No 2" and "Fish Fryer"

Proceeding east along Tunnel 3 we come back to our starting point. In 2001 this tunnel was still bricked off at this point. This was believed to have been done in the 1960's. In reality we had to take a diversion to get around this, but with our virtual tour we can proceed along Tunnel 3. (This wall was demolished in 2008.)

To your right Gallery 31 - Finished Part Stores (We came through here earlier). The steel ladder was a remnant of changed plans for the 1980's RGHQ. The water tanks were originally going to be sited here, hence the concrete bases and ladder. At the last minute plans were changed and the tanks were dismantled and moved before they had even been plumbed in.

On your left was the Works Clerks Office. The Sign above the window reads "Works Clerks Office - Enquiries". The Blackboard is headed "The Rover Co Ltd (Aero) No 1D Factory Output Sets & Spares Completed Week Ended". This structure complete with signs was demolished in 2008.
To your left is Gallery 44 - Cylinder Barrels looking across to Tunnel 2.

Continue to the end of Tunnel 3 and turn around to look back.
To your right is Gallery 83 - Capstans.
Leading across Galleries 81 and 82 to the top of tunnel 4.
Turn right to continue our tour and see the galleries between Tunnels 3 & 4.
© 2009 J.R.Bryan
All images on this page are protected under copyright law. They may not be reproduced in any form or location electronically or in print without prior written permission from the copyright owner.
Drakelow Unearthed
- Revised Edition
Available in ebook format
from Amazon
Available in ebook format
from Amazon